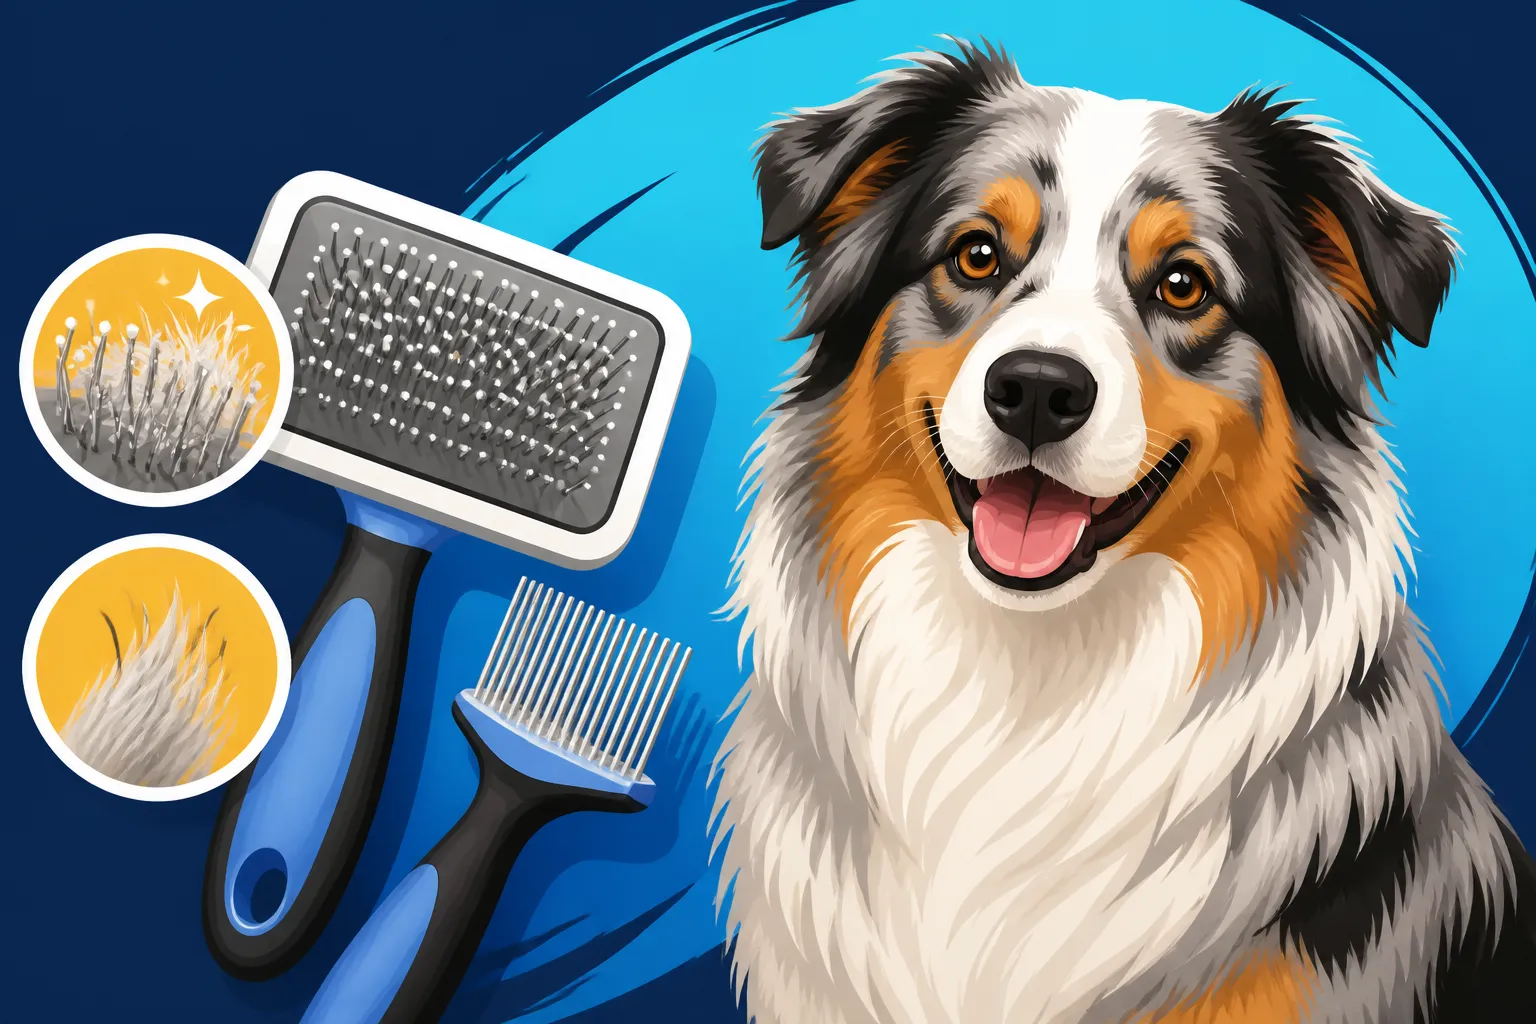
Slicker Brushes and Line Brushing an Aussie
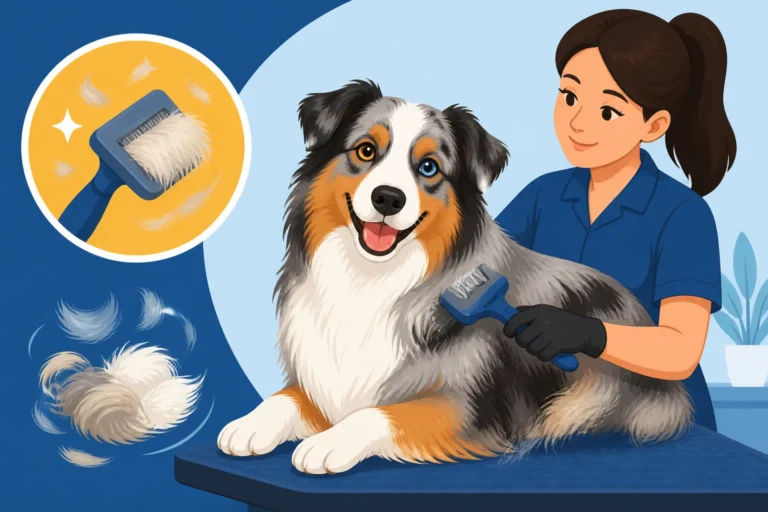
Anyone who lives with an Australian Shepherd knows the sheer volume of fur they can produce, especially during what we affectionately call "coat blow." It feels like you could build another Aussie out of the hair that comes off them sometimes, and simply running a comb over the top often doesn't feel like it's doing much at all. That's where the mighty slicker brush and the technique of line brushing come in – they are absolute game-changers for managing that beautiful, thick coat, and this guide will walk you through exactly why and how to use them effectively.
Understanding Your Aussie's Double Coat
Before we dive into the tools and techniques, it's really helpful to understand just what kind of fur factory you're dealing with. Australian Shepherds are bred for work in varying climates, and their coat is perfectly designed for it. But that magnificent insulation comes with a price: a lot of shedding!
The Ins and Outs of the Aussie Undercoat and Topcoat
Your Aussie has a double coat, which means it's made up of two distinct layers, each with its own job. The outer layer, or topcoat, consists of longer, coarser guard hairs. These hairs are pretty much waterproof and dirt-resistant, protecting your dog from the elements like rain, snow, and brambles when they're out working or playing. They're strong and resilient, and they're what gives your Aussie that beautiful, vibrant color and pattern, whether it's a deep black tri or a stunning blue merle.
Beneath this protective topcoat lies the real fluff engine: the undercoat. This layer is made up of incredibly soft, dense, woolly hair. Its primary purpose is insulation – keeping your Aussie warm in winter and surprisingly, helping to keep them cool in summer by trapping air, acting like a natural air conditioner. During seasonal changes, especially in spring and autumn, this undercoat will "blow out," meaning huge amounts of it are shed to make way for a new, appropriate coat for the upcoming weather. If this old, dead undercoat isn't removed, it can mat close to the skin, creating hot spots, skin irritation, and trapping moisture. It's truly a chore, but a necessary one, to keep their skin healthy.
Why Regular Brushing Isn't Just for Looks
While we all love a neatly groomed Aussie, regular brushing goes far beyond aesthetics. First and foremost, it's about skin health. When that dense undercoat sheds and gets trapped, it creates a thick barrier. This matting prevents air circulation, leading to potential skin infections, yeast overgrowth, and the dreaded hot spots. Imagine wearing a heavy, wool sweater in summer that you can't take off – that's what a matted undercoat feels like to your dog.
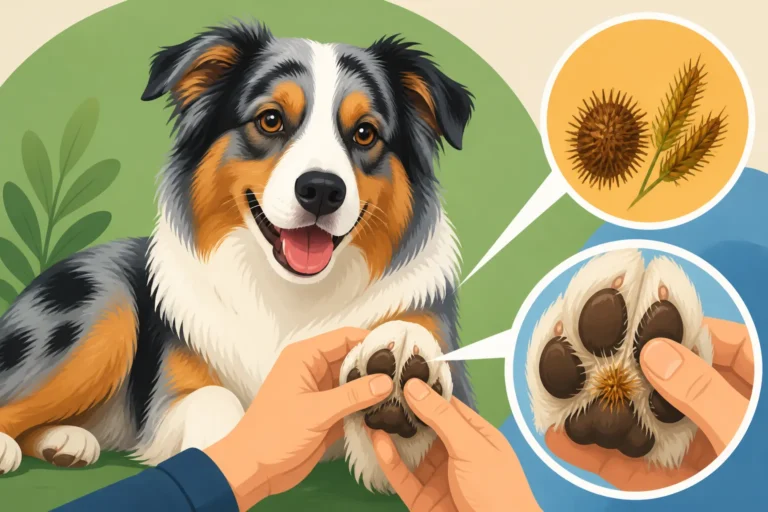
Secondly, brushing helps distribute natural oils throughout the coat, keeping both the topcoat and undercoat healthy, shiny, and less prone to breakage. It’s like a built-in conditioning treatment every time you brush. Thirdly, and perhaps most immediately satisfying for us owners, it drastically reduces the amount of fur floating around your house! Less fur on your couch, less fur on your clothes, and less fur tumbleweeding across your floors means a happier home for everyone. Plus, it's a wonderful bonding experience for you and your dog, provided it's a positive and gentle interaction. Regular grooming allows you to check for any lumps, bumps, ticks, or skin issues that might otherwise go unnoticed. This is especially important for active Aussies who spend a lot of time outdoors where they might pick up burrs or tiny injuries.
The Magic of the Slicker Brush
If you're going to tackle an Australian Shepherd's coat, a slicker brush is an indispensable tool. It’s designed specifically to penetrate the dense undercoat and remove loose hair without damaging the delicate topcoat, provided it’s used correctly.
Choosing the Right Slicker Brush for Your Australian Shepherd
Not all slicker brushes are created equal, and choosing the right one can make a huge difference in your grooming success and your Aussie's comfort. Look for a brush with fine, wire bristles that are angled. The angle is key because it helps the pins glide through the fur without scratching the skin. The pins should be firm enough to untangle but flexible enough to bend if they hit resistance, preventing them from digging into your dog.
Size matters, too. For a large, dense Aussie coat, you'll want a medium to large-sized head on the brush. This covers more surface area, making the process more efficient. Pay attention to the handle as well; it should be ergonomic and comfortable for you to hold, especially during longer grooming sessions. Your hand will thank you! You can find a fantastic array of slicker brushes, often with customer reviews, on sites like Amazon or even specialized pet supply retailers like Chewy. Don't be afraid to read reviews from other Aussie owners to see what they recommend. Remember, a good quality slicker brush is an investment that will last years and save you countless hours of frustration.
The Proper Technique for Using a Slicker Brush
Using a slicker brush isn't about scrubbing your dog's coat like you're cleaning a floor. It requires a gentle hand and precise technique to be effective and comfortable for your Aussie. Always start with a very light touch. You want to skim the top of the coat first, working in the direction of hair growth. This helps to remove any surface debris and loose topcoat hair.
Once you've done that, you can start to apply a little more pressure, but still, be gentle. The goal is to reach down into the undercoat. Use short, soft strokes, flicking your wrist slightly at the end of each stroke. This flicking motion helps to pull the loose undercoat up and out without snagging or pulling the hair. Never press hard enough to feel the pins against your dog's skin, as this can cause "brush burn" – a painful irritation that will make your Aussie dread grooming. Think of it more like gently teasing out tangles from a child's hair, rather than aggressively pulling. If you encounter a tangle, don't yank. We'll cover how to handle those specifically in the line brushing section. Always work in small sections, moving systematically across your dog's body.
Mastering the Art of Line Brushing
Slicker brushes are great, but for a truly thorough job on an Australian Shepherd's thick coat, especially when they're blowing it, you need to employ line brushing. This technique ensures you get right down to the skin and remove all that dead, shedding undercoat.
What is Line Brushing and Why It's Essential for Aussies
Line brushing is a grooming technique where you systematically brush small sections of your dog's coat, working from the bottom up, creating horizontal "lines" of brushed hair. Instead of just brushing over the top, you're literally parting the hair and brushing from the root outward. This is absolutely critical for Aussies because their undercoat is so dense it can mat from the skin outwards, creating a felted layer that can be impossible to get out without professional help or even shaving.
Think of it this way: if you just brush the top layer, you're only removing the surface-level loose hair. The real problem – the packed, dead undercoat – remains trapped underneath, forming mats that can quickly become painful. Line brushing ensures that every single strand of hair, from the skin out, gets thoroughly brushed. It might sound a bit more time-consuming, but in the long run, it saves you from severe matting issues, painful de-matting sessions, and potentially even costly trips to the groomer. It’s the secret weapon for keeping that magnificent Aussie coat healthy and tangle-free. This technique is particularly helpful when their coat is truly "blowing," making sure you get all the shedding fur. You'll be amazed at how much hair comes out when you line brush properly.
A Step-by-Step Guide to Line Brushing Your Australian Shepherd
Let's break down how to line brush your Aussie effectively. Patience is key, especially if your dog isn't used to this level of grooming.
- Gather Your Tools: You'll need your slicker brush and a good steel comb with both fine and wide teeth. Having some small, high-value treats on hand is also a great idea for positive reinforcement.
- Start at the Bottom: Begin at your Aussie's paws or legs. This is often an easier, less sensitive area to start, helping your dog get comfortable with the process. Work your way up the leg, then move to the belly, chest, and finally the back and tail.
- Create a Part: Using your non-brushing hand, part a small section of your Aussie's coat horizontally, against the direction of hair growth. You want to expose a "line" of skin. Start with a line about an inch or two wide.
- Brush Upwards and Outwards: Take your slicker brush and gently brush up and out from the exposed skin, along that line of hair. Your goal is to brush all the way through the hair, from the root to the tip, pulling the loose undercoat with it. Make short, gentle strokes.
- Comb to Check: Once you've brushed a section, take your steel comb and try to comb through it. If the comb glides smoothly from the skin to the tip of the hair without snagging, that section is properly brushed. If it snags, go back with your slicker brush and re-brush until the comb passes through easily.
- Work Your Way Up: Once a section is completely free of mats and loose undercoat, let the hair fall back over it naturally. Then, create another horizontal part just above the section you just finished. Repeat the brushing and combing process. Continue this method, line by line, moving upwards across your dog's body.
- Don't Forget the Details: Pay extra attention to areas prone to matting: behind the ears, in the "armpits" (behind the front legs), the feathering on the legs, the belly, and the tail. These areas often have finer, more easily matted hair. The Mats That Form Behind Aussie Ears are a common struggle for many owners.
- Positive Reinforcement: Keep grooming sessions positive with praise and treats. If your Aussie gets squirmy, take a break. Shorter, more frequent sessions are often better than one long, stressful one.
Tackling Mats and Tangles Effectively
Discovering a mat in your Aussie's beautiful coat can be disheartening, but with line brushing, you have the best defense. If you encounter a mat, do not pull at it with the slicker brush. This will be painful for your dog and make them wary of future grooming.
Instead, isolate the mat. Use your fingers to try and gently tease it apart. Sometimes, you can break a larger mat into smaller, more manageable tangles. You can also use a small amount of dog-specific detangling spray to help loosen the hair. Once you've loosened it a bit, use the edge of your slicker brush or the wide teeth of your comb to work at the very ends of the mat, gently pulling small bits of hair out at a time. Work slowly and patiently, always supporting the skin at the base of the mat with your fingers to minimize pulling on the skin.
For particularly stubborn or tight mats, you might need a mat splitter or a dematting comb. These tools have specialized blades that can cut through the mat without cutting the surrounding healthy hair. However, use these with extreme caution, as it's easy to nick the skin. If a mat is too close to the skin or too tight to safely remove yourself, it’s always best to consult a professional groomer. They have the experience and tools to remove mats safely and with minimal discomfort for your dog. Remember, prevention through consistent line brushing is always better than trying to fix severe matting.
Integrating Brushing into Your Aussie's Routine
Brushing shouldn't be a battle; it should be a regular, enjoyable part of your Aussie's life. Consistency is the key to managing that magnificent coat and keeping your dog happy and healthy.
How Often Should You Be Brushing Your Australian Shepherd?
The frequency of brushing really depends on a few factors: your Aussie's specific coat type (some have denser undercoats than others), their activity level (more outdoor adventures can mean more burrs and tangles), and most importantly, the time of year.
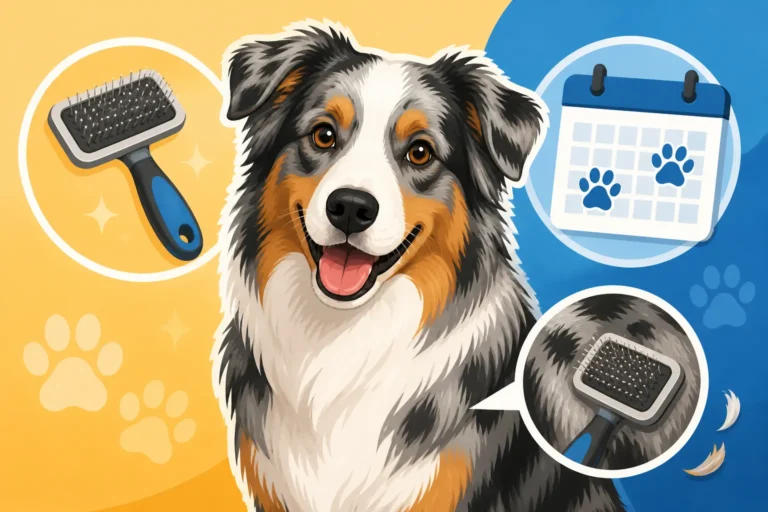
Generally, a good rule of thumb is to brush your Australian Shepherd thoroughly with a slicker brush and comb at least 2-3 times per week. This regular maintenance helps prevent mats from forming and keeps the shedding manageable. However, during the dreaded "coat blow" seasons – typically spring and fall – you'll need to step up your game significantly. During these periods, daily brushing is often necessary. This is when you'll really appreciate the effectiveness of line brushing, as it's designed to pull out that massive amount of shedding undercoat. Brushing Every Day While an Aussie Sheds might sound like a lot, but it’s crucial for their comfort and your sanity. If you don't keep up during these times, mats can form incredibly quickly, sometimes in a matter of days. Don't forget that a dog's health can impact their coat, so consistent care helps you notice changes quickly.
Making Brushing a Positive Experience
No one wants grooming to be a stressful ordeal for their beloved Aussie. Making it a positive experience starts early, ideally when they are a puppy.
- Start Young: Even before your puppy has a full adult coat, introduce them to the brush gently. Let them sniff it, reward them for calm interaction, and do very short, gentle brushing sessions. Associate the brush with good things – treats, praise, and gentle strokes.
- Patience and Positivity: Always approach grooming with a calm and patient attitude. If you're stressed, your dog will pick up on it. Use a soothing voice and plenty of praise.
- Treats, Treats, Treats: High-value treats are your best friend during grooming. Reward your Aussie for allowing you to brush certain areas, for standing still, or for tolerating a particularly tricky spot. You can even try a lick mat smeared with peanut butter to keep them distracted and happy during sessions.
- Short Sessions: Especially in the beginning, keep grooming sessions brief. Five to ten minutes of calm brushing is much better than a half-hour struggle. You can gradually increase the duration as your dog becomes more comfortable.
- Comfortable Environment: Choose a quiet, comfortable space where your Aussie won't be distracted. A non-slip mat on a table can help keep them steady and at a good height for you, reducing strain on your back. If they aren't used to it, build up to standing on a table slowly.
- Know When to Stop: If your Aussie is clearly stressed, struggling, or showing signs of fear or aggression, stop the session. Pushing through will only make them hate grooming more. Take a break, try again later, or re-evaluate your approach. Sometimes, a professional groomer can help reset a dog's attitude towards grooming. A positive relationship around grooming can even help if you ever need to perform Cooperative Care for an Australian Shepherd at the Vet.
By implementing these strategies, you can turn grooming from a dreaded chore into a regular, bonding ritual that keeps your Australian Shepherd's coat healthy and beautiful.
Here’s a quick overview of common brushing tools and their uses for an Australian Shepherd:
| Brush Type | Primary Use | Ideal For | Notes |
|---|---|---|---|
| Slicker Brush | Removing loose undercoat, light de-matting | All coat types, especially dense double coats | Essential for line brushing; use gently to avoid brush burn |
| Undercoat Rake | Deep penetration to remove loose undercoat | Heavy shedding seasons ("coat blow") | Excellent for getting deep into the thickest parts of the coat |
| Pin Brush | Detangling topcoat, general coat maintenance | Longer feathering, gentle daily brushing | Doesn't penetrate undercoat well, more for surface work |
| Steel Comb | Checking for mats, precise detangling, finishing | All areas, especially behind ears, tail, feathering | Critical for confirming thoroughness after slicker brushing |
| Deshedding Tool | Aggressively removing large amounts of undercoat | During heavy coat blow, with caution | Can damage guard hairs if overused; use sparingly |
This article is for general informational purposes only and does not constitute professional advice. Laws, prices and regulations vary by location and change over time. Consult a qualified professional for guidance on your specific situation.