Trimming an Australian Shepherd’s Feet and Hocks
If you’re an Australian Shepherd owner, you know their glorious, flowing coats are a double-edged sword. While beautiful, those long hairs around their feet and hocks can quickly become a matted mess, trapping dirt, debris, and even causing discomfort. This guide will walk you through the often-overlooked but crucial task of trimming your Aussie's feet and hocks, helping you keep them tidy, comfortable, and healthy without a trip to the groomer every other week.
Why Foot and Hock Trimming is Essential Beyond Just Looks
Many new Australian Shepherd owners focus on the body coat, brushing out tangles and managing the seasonal "coat blow." But the hair on their feet and around their hocks often gets forgotten, leading to a host of problems that go far beyond just looking a bit scruffy. This isn't just about aesthetics; it's genuinely about their comfort and health.
Preventing Health Issues Like Mats and Infections
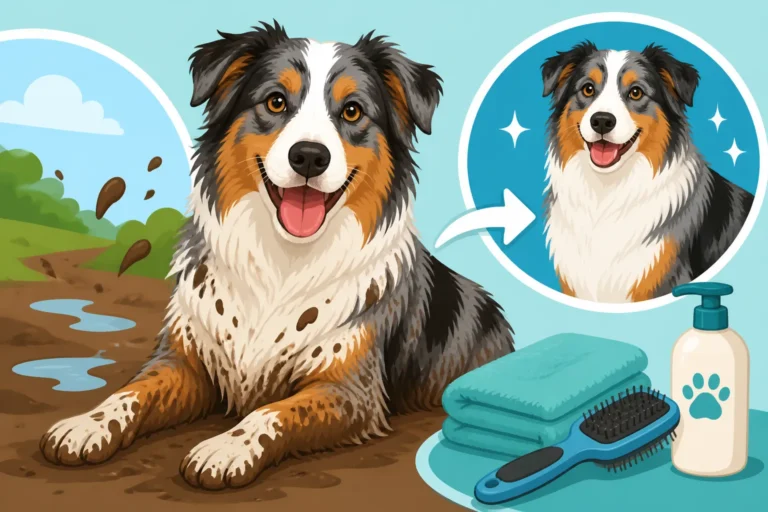
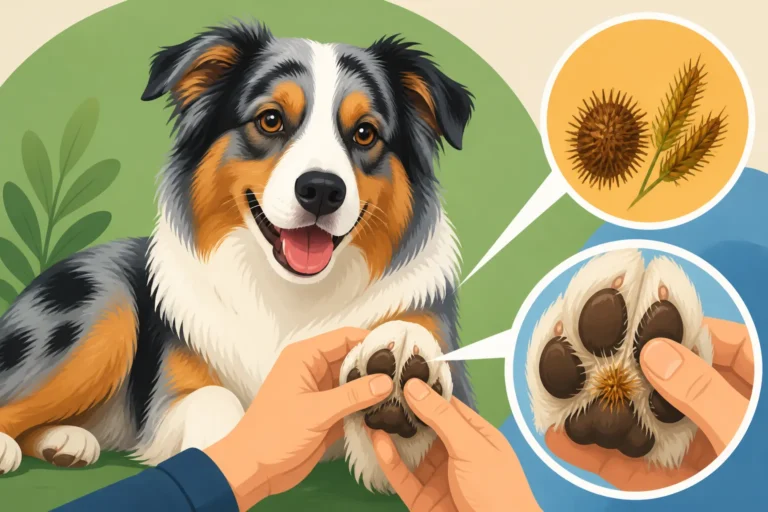
Imagine walking around with tiny pebbles constantly stuck between your toes, or having your socks clumped up and rubbing uncomfortably with every step. That's often what long, untrimmed hair on an Aussie's feet feels like. The hair between their paw pads acts like a magnet for dirt, burrs, small stones, and even ice balls in winter. When this debris gets trapped, it can lead to painful matting, which then pulls on the skin, causing irritation. These mats can also create a moist, warm environment, perfect for bacteria and yeast to flourish, leading to nasty paw infections. It's a cyclical problem: long hair gets dirty, gets matted, causes irritation, and then opens the door for infection. Keeping these areas trimmed helps prevent these painful scenarios, making sure your Aussie’s paws stay clean and dry. You really don't want to find yourself dealing with an angry, red, and itchy paw pad infection that could have been avoided with a simple trim.
Improving Traction and Comfort
Those fluffy "Grinch feet" might look cute in pictures, but for an active Australian Shepherd, they're a hazard. When the hair between their paw pads grows too long, it covers the pads themselves, reducing the natural traction their paws are designed to provide. This can make them slip on hardwood floors, tile, or even wet grass, increasing their risk of injury, especially if they're still Growing Pains in a Six Month Old Aussie or are a senior dog who might be starting to develop Australian Shepherd Arthritis After Years of Work. Think of it like trying to walk on ice with fuzzy slippers instead of proper boots. Beyond just slipping, the excess hair can also interfere with their natural gait, making each step less efficient and potentially causing discomfort or strain on their joints over time. A clean, trimmed paw allows their pads to grip properly, giving them better stability and confidence in their movements, whether they're working sheep, flying over agility jumps, or just playing fetch in the yard.
Maintaining Breed Standards and Neatness
While health and comfort are paramount, there's also the element of neatness and maintaining the breed's appearance. The Australian Shepherd standard calls for a clean, well-kept appearance, and that includes their feet. Excess hair around the feet and hocks can make them look dishevelled and untidy, even if the rest of their coat is pristine. For those who show their Aussies, a proper foot trim is a must to meet the breed standard, creating that desired "cat foot" appearance – compact and well-knuckled. Even for companion Aussies, keeping these areas tidy simply makes them look more put-together and cared for. It’s a small detail that makes a big difference in their overall presentation, showcasing their natural beauty rather than hiding it under a veil of unruly fur.
Gathering Your Tools for the Task
Before you even think about grabbing your Aussie's paw, you need to gather the right tools. Trying to trim with dull scissors or the wrong kind of clippers will only lead to frustration for both you and your dog, and could even result in accidental nicks or scrapes. Having everything laid out and ready before you start will make the process much smoother.
Essential Clippers and Scissors
For trimming the hair between the paw pads, a small, quiet pair of electric clippers is usually the safest and most efficient choice. Look for clippers designed for small areas, often called "trimmer clippers" or "finishing clippers." They should be powerful enough to cut through thick hair but quiet enough not to startle your dog. Some popular options can be found on retailers like Chewy or Amazon, where you can often read reviews from other dog owners. For the hair around the paw and on the hocks, a good pair of blunt-nosed grooming scissors is essential. These scissors have rounded tips, which are much safer to use around delicate paw pads and skin than sharp-pointed scissors, greatly reducing the risk of accidental pokes or cuts if your Aussie moves suddenly. Make sure they are sharp to ensure a clean cut, as dull scissors can pull and tug, causing discomfort.
Combs and Brushes for Prep Work
Before any trimming begins, you'll need to prepare the coat. A slicker brush and a fine-toothed metal comb are your best friends here. The slicker brush helps to remove any loose hair, dirt, and minor tangles from the longer feathering around the hocks and the top of the feet. This makes it easier to see what you're doing and prevents the clippers or scissors from getting snagged. The metal comb is particularly useful for working through any knots, especially in the fine hair between the toes and around the hocks. Using the comb also helps you lift the hair to see the natural shape of the foot and identify exactly where you need to trim. It's similar to how you'd comb your own hair before a haircut – it gives you a clean canvas to work on. This preparatory step is vital for a neat and safe trim.
Styptic Powder and Rewards
Even with the utmost care, accidents can happen, especially if your dog is squirmy or if you're new to trimming. Keeping styptic powder or a styptic pencil handy is crucial. This powder helps to quickly stop bleeding from minor nicks, should you accidentally cut too close to the quick of a nail (which can sometimes happen when trying to get to the hair between the pads) or nick a paw pad. It’s cheap insurance and can save a lot of panic. Secondly, don't forget the power of positive reinforcement! Have plenty of high-value treats ready to reward your Aussie for cooperation. Small, soft training treats work best, as they can be eaten quickly without interrupting the session too much. Some owners find Ollie offers good options for high-value, healthy treats, or you can find a wide variety on Amazon. Making this a positive experience with rewards will make future grooming sessions much easier for both of you.
Here's a quick rundown of your essential grooming kit:
| Tool | Purpose | Key Feature / Consideration |
|---|---|---|
| Small Electric Clippers | Trimming hair between paw pads | Quiet operation, small head, rechargeable is a plus |
| Blunt-Nosed Scissors | Trimming hair around paw edges and hock feathering | Rounded tips for safety, sharp blades for clean cuts |
| Slicker Brush | Detangling and removing loose hair from top of feet and hocks | Helps identify mats and prepare coat |
| Metal Comb | Lifting hair to see natural foot shape, removing small tangles | Fine-toothed for precision |
| Styptic Powder | Quickly stopping minor nicks or cuts | Essential for safety, often overlooked |
| High-Value Treats | Rewarding calm behavior and cooperation | Small, soft, easily consumed without distraction |
A Step-by-Step Guide to Trimming Your Aussie's Feet
Trimming your Australian Shepherd's feet doesn't have to be a wrestling match. With the right technique and a calm approach, you can turn it into a manageable routine. Consistency is key, so don't expect perfection on your first try!
Preparing Your Aussie for the Trim
The first step is setting the stage for success. Choose a time when your Aussie is naturally calm and tired, perhaps after a good play session or a long walk. This isn't the time to tackle it when they're full of beans and ready to An Australian Shepherd That Paces Indoors. Find a comfortable, well-lit area where you both feel relaxed. Start by gently handling their paws, running your hands over their feet and between their toes. If they're sensitive, do this in short bursts, pairing it with treats. You might need to build up to this over several days or weeks if your dog isn't used to paw handling. Always speak in a calm, reassuring voice. Some owners find it helpful to have a non-slip mat or a grooming table to work on, as this elevates the dog and can make it easier on your back. Before you even bring out the tools, a quick brush around the feet with a slicker brush can help loosen any surface dirt and identify potential mats. Remember, the goal is to make this a positive, low-stress experience.
Trimming the Pads and Between Toes
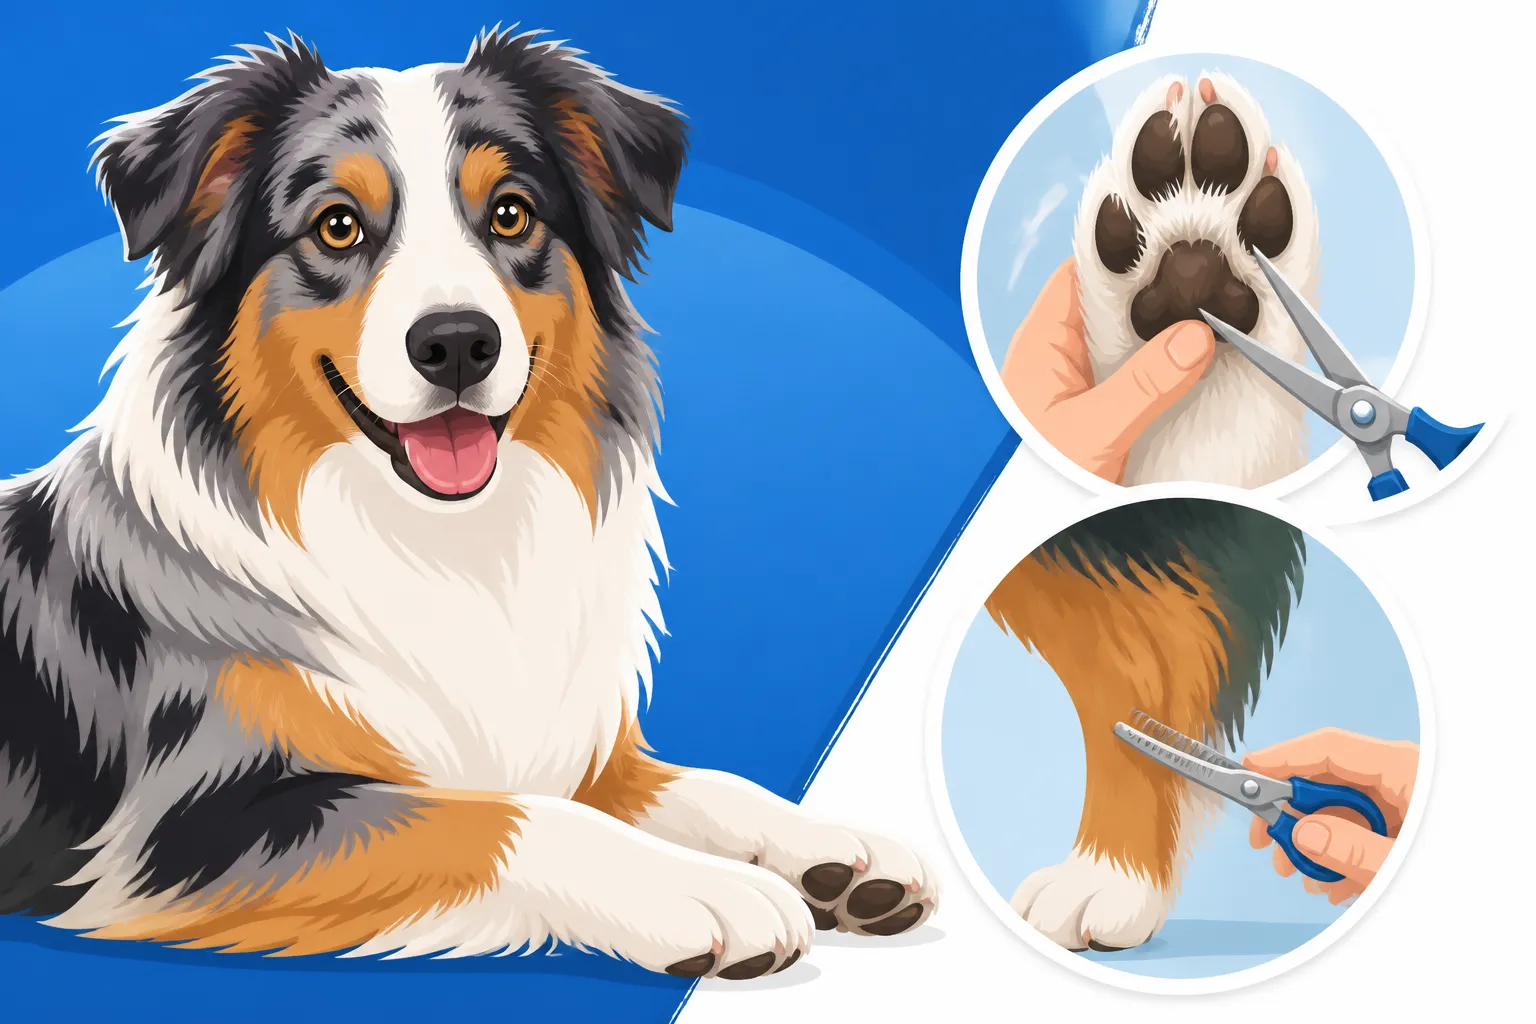
This is where your small electric clippers come in. Carefully take one paw at a time. Gently spread the toes apart and use the clippers to trim the hair that grows out from between the paw pads. You want to trim this hair flush with the pads, exposing them fully. The trick here is to be extremely careful not to cut the actual paw pads or the sensitive skin between them. It’s easier if you can feel the pad with your thumb and gently stretch the skin taut while you trim. For any stubborn tufts, especially between the very front toes, you can use the blunt-nosed scissors, pointing them away from the pads and only cutting the tips of the hair. Be especially vigilant for Grass Seeds and Foxtails in an Aussie Coat that might be embedded in this area, as they can cause significant pain and infection if missed. Work slowly and methodically, taking frequent breaks to praise and reward your dog. If they get antsy, stop, give them a cuddle, and resume when they're settled.
Shaping the Foot for a Clean Look
Once the hair between the pads is dealt with, it’s time to shape the overall foot. This gives your Aussie those desirable "cat feet" – neat, compact, and round. Using your blunt-nosed scissors, trim the hair that extends beyond the outer edges of the paw pads. Imagine drawing a circle around the paw, keeping the hair within that boundary. You want to create a clean, rounded shape, ensuring no long tufts are sticking out past the pads when your Aussie is standing naturally. For the hair on top of the foot, especially the "feathering" that might extend over the toes, use your comb to lift the hair upwards and then carefully snip off any stragglers that make the foot look messy. Again, always point the scissors away from the paw and keep the tips rounded for safety. The goal isn't to take off too much, but to create a tidy outline that highlights the natural structure of their paw, rather than a fuzzy blob. This step ties everything together for a well-groomed finish.
Tackling the Hocks and Feathering
While the feet are often the primary concern, the hocks and the beautiful feathering on the back of your Aussie's legs also require attention. Neglecting these areas can lead to just as much matting and discomfort.
Understanding the Hocks and Their Purpose
The hock joint on a dog is essentially their ankle, located on the rear leg. It's a crucial joint for their movement, propulsion, and ability to stop and turn sharply – all vital for an Australian Shepherd, whether they're on a ranch or in the agility ring. Surrounding this joint, Aussies often have longer feathering, which, while stunning, can quickly become a tangled nightmare. This area gets a lot of action; it bends, flexes, and brushes against tall grass or rough terrain, making it prone to collecting debris and forming mats. Understanding the anatomy helps you trim more effectively and safely. You're not just hacking away at hair; you're working around a functional joint, aiming to keep it clean and free from entanglements without inhibiting its natural movement. This feathering, if left too long, can also track in a lot of dirt, mud, and Road Salt in an Aussie's Feathered Paws during winter months, which you definitely want to avoid.
Blending the Feathering for a Natural Finish
The feathering on the back of the hocks should ideally be blended to look natural, not abruptly cut. You want to maintain the graceful lines of your Aussie's leg while removing excess length that could cause problems. Use your blunt-nosed scissors, combing the hair downwards first to get a clear view. Then, carefully snip off the very ends of the longest hairs that drag on the ground or gather debris. You can also use thinning shears here if you have them, especially if the feathering is particularly dense. Thinning shears allow you to reduce bulk without creating harsh lines, resulting in a more natural, feathered appearance. The key is to blend the trimmed section into the untrimmed coat above, so there's no obvious "shelf" or sharp cut line. Stand back frequently to assess your work and ensure an even, symmetrical look on both hind legs. This thoughtful approach preserves their beautiful coat while making it much more functional and easier to maintain.
Dealing with Matting in Difficult Areas
Matting around the hocks and in the longer feathering can be particularly challenging. These areas see a lot of friction and are often neglected, allowing mats to form deep within the undercoat. If you encounter a mat, your first instinct might be to cut it out, but that can be risky. Always try to work it out first with a metal comb and a detangling spray. Hold the base of the mat firmly against the skin to prevent pulling and discomfort, and gently pick at the edges of the mat with the comb. If the mat is too tight to comb out, you may need to carefully use your blunt-nosed scissors or clippers. For mats that are very close to the skin, clippers are often safer, as you can carefully get under the mat without risking the skin. Always use caution, feeling for the skin beneath the mat with your fingers to avoid nicks. If the mat is extremely dense and tight, it might be safer to leave it for a professional groomer or veterinarian to remove, as they have specialized tools and techniques to deal with severe matting without injuring the dog. Remember, patience is a virtue here, and rushing will only make things worse. Consistent Brushing an Australian Shepherd Through Coat Blow can significantly reduce the incidence of mats in these areas.
Common Mistakes and How to Avoid Them
Even experienced groomers have had a mishap or two. When you're dealing with a squirming dog and sharp tools, it's easy to make mistakes. Knowing what to watch out for can save you a lot of heartache (and vet bills).
Cutting Too Deep or Nicking the Skin
This is probably the most common fear for anyone trimming a dog's feet and hocks, and for good reason. The skin around paw pads and between toes is very delicate, and a sudden movement from your Aussie can lead to an accidental cut. The best way to avoid this is to always use blunt-nosed scissors and small clippers designed for precision. Never use sharp-tipped scissors around these areas. When using clippers, always stretch the skin taut to create a flat surface, making it harder for the skin to get caught. Work slowly and in short strokes, taking frequent breaks. If your dog is particularly wiggly, consider enlisting a second person to gently hold and distract them with treats. Should a nick occur, don't panic. Apply styptic powder immediately with gentle pressure. Most minor nicks will stop bleeding quickly and heal without issue. If it's a deeper cut, or if the bleeding doesn't stop, contact your vet.
Over-Trimming or Under-Trimming
Finding the right balance can be tricky. Over-trimming means cutting the hair too short, which can expose delicate skin to the elements, leading to irritation or sunburn, especially on lighter-pigmented Aussies. It can also make the feet look awkward and unnatural. Conversely, under-trimming means not removing enough hair, leaving your Aussie susceptible to all the problems we discussed earlier, like matting, debris collection, and reduced traction. The goal is to trim the hair flush with the paw pads and create a neat, rounded outline around the foot, blending the hock feathering naturally. It's often better to err on the side of slightly under-trimming initially and then take off a little more if needed, rather than cutting too much at once. Remember, hair grows back, so don't be afraid to practice and refine your technique over time. Regular maintenance, rather than drastic cuts, is the key to success.
Making the Experience Stressful for Your Aussie
For many dogs, having their feet handled is an uncomfortable experience. If you approach grooming sessions with tension or frustration, your Aussie will pick up on that and associate the trim with negativity. This can make future sessions a battle, potentially leading to fear-based aggression or resistance. To avoid this, keep grooming sessions short, especially when starting out. Pair every step with positive reinforcement: praise, gentle petting, and high-value treats. If your Aussie gets stressed, stop immediately. Don't force them through it. Instead, take a break and try again later, or simply work on paw handling and positive associations without any tools. Consistency and patience are far more effective than trying to rush the process. Consider using a lick mat with peanut butter or another favored spread to keep them distracted and happy during the trim. Making grooming a positive routine, even if it's just a few minutes of paw handling each day, will make a world of difference in your Aussie's comfort and cooperation, and help avoid issues like An Australian Shepherd That Will Not Stop Fetching. For more in-depth advice on overall coat maintenance, you might find our guide on The Rake That Reaches an Aussie Undercoat helpful.
Taking the time to properly trim your Australian Shepherd's feet and hocks is a crucial part of their overall care. It prevents discomfort, reduces the risk of painful infections and injuries, and keeps them looking their best. With the right tools, a calm approach, and plenty of patience, you can master this skill and ensure your beloved Aussie stays happy, healthy, and ready for whatever adventures come their way.
Disclaimer
This article is for general informational purposes only and does not constitute professional advice. Laws, prices and regulations vary by location and change over time. Consult a qualified professional for guidance on your specific situation.